Basic set up tutorial :
Requirements :
- being familiar with the command line interface for your OS, it's going to be used to launch SysSocial (a GUI will be added later).
- accepting the EULA for SysSocial (the LICENSE.md file in the SysSocial package).
First, if you haven't done that already, you'll need to download the SysSocial launcher and run it. You can find it here.
Once you did that, click on the blue '+' button to create a new configuration for SysSocial.
Chose a name and a version for your configuration for your configuration.
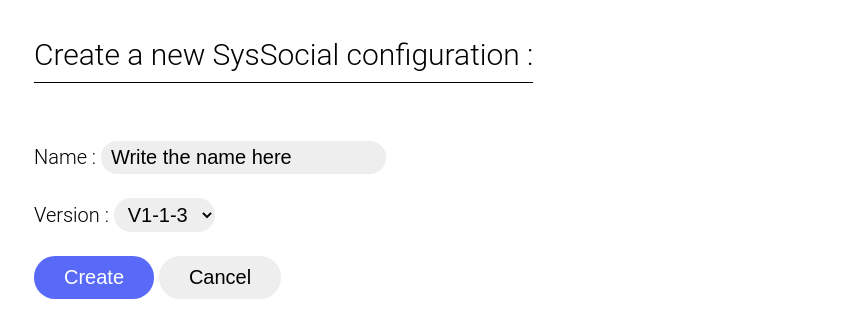
Click the "create" button and wait for SysSocial to be downloaded. After a few moments, you should see the SysSocial configuration editor.
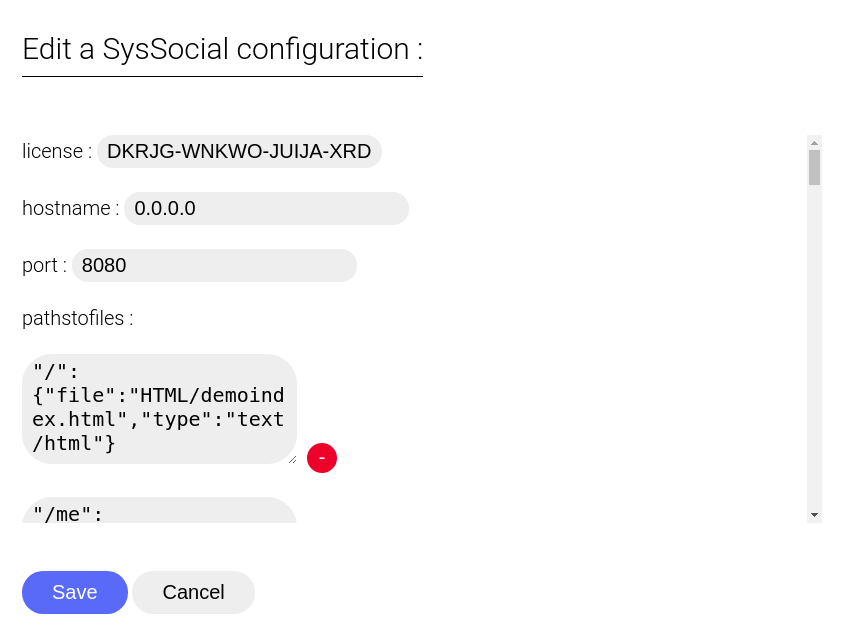
Before doing anything else, set the "license" field to "DKRJG-WNKWO-JUIJA-XRDCK". This is a temporary license key that will be revoked later when SysSocial will become paid.
The "hostname" field is set to "0.0.0.0", meaning that SysSocial will accept all requests, no matter which domain they were pointing to. You can change this setting to "localhost", to only accept requests pointing to the "localhost" address.You can also change this field to you public IP address, to only accept requests pointing to it. Or you can put your domain name into it, to only accept requests pointing there.
The "port" field is set to 80 (the default port for http). You can set this port to whatever port you want, as long as it's available to be listened on. Note that some ports may require the SysSocial launcher to be launched with administrator privileges (the port 80 is usually one of them, so it is recommended to change it to something else).
Now let's look at the "database" section. it should contain all the info for SysSocial to connect to a MySQL database.
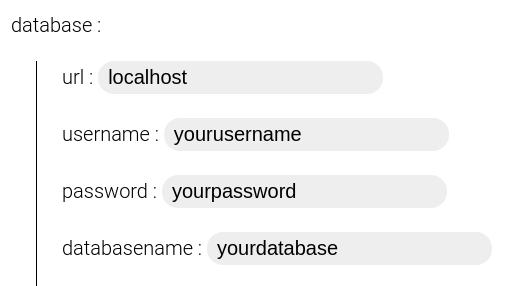
The "url" field should be set to the url for your MySQL server, localhost by default.
The "username" field should be set to the username for the MySQL user account you decide to let SysSocial use. Make sure this account is allowed to create and edit tables in your MySQL database.
The "password" field should be set to the password for the account.
And finally, the "databasename" field should be set to whatever database you want SysSocial to use.
Now everything should be ready to launch SysSocial itself. Click the 'save' button. Your new configuration should appear in the list of configurations.
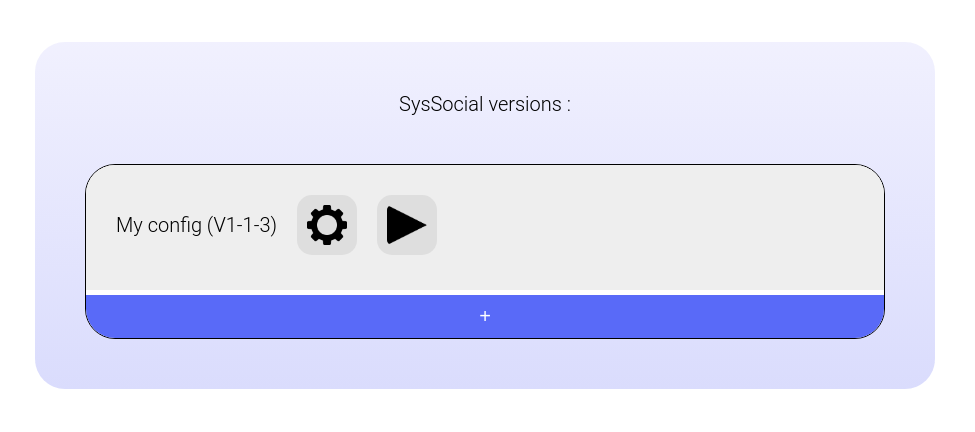
Click on the 'launch' icon next to your new configuration. A panel should pop up with the output from your SysSocial configuration.
Note : if you see some error right now or get some error while running SysSocial, make sure the configuration is done right.
When you'll want to shut down SysSocial, click on the close instance button. If you now want to make edits to the configuration, click the gear icon to bring back the editor.
If everything was done correctly, the demo website should be hosted on http://localhost:yourport (replace yourport by the port you have chosen).
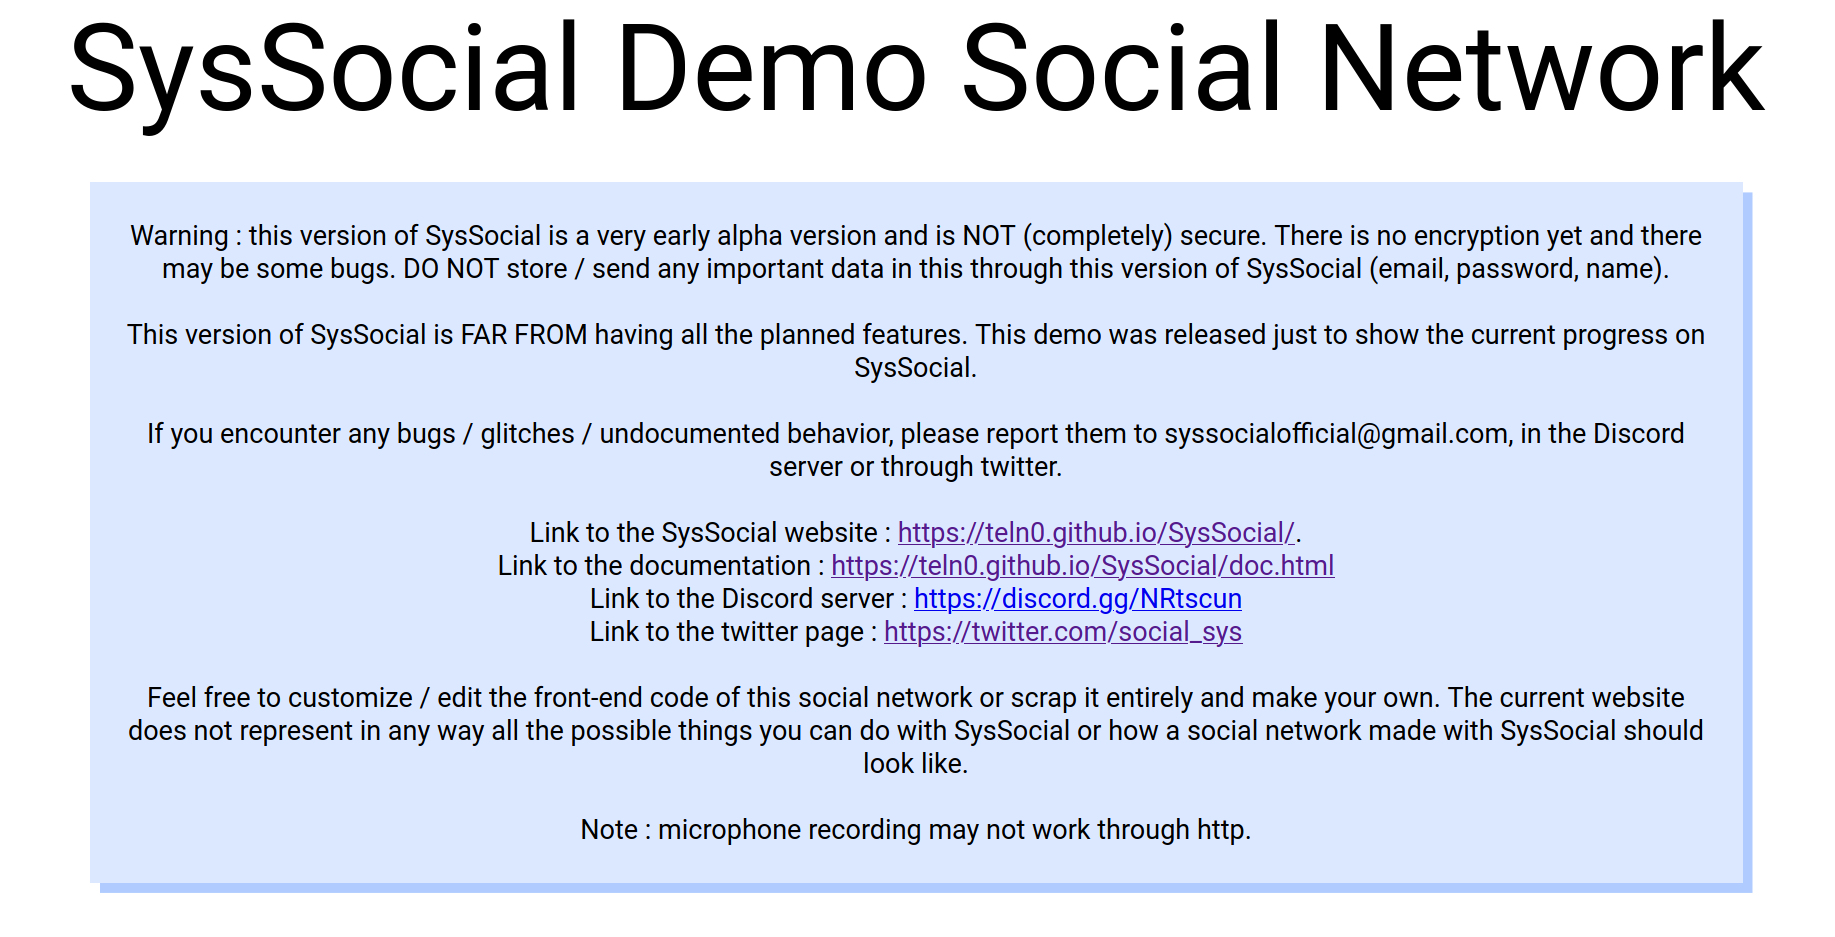
Now, you can explore the demo social network made with SysSocial.
Feel free to edit the HTML source code for the demo social network (in the Configs/YourConfigName/YourConfigVersion/SysSocial/HTML folder) or scrap it entirely and make your own !
More about how to use SysSocial can be found in the official documentation.